How to study your soil to adapt your work to it ?
Why study your soil ?
Knowing the structure of your soil before doing anything to it ensures that you understand it and adapt your tillage strategy to the needs of each plot. How do you study your soil to adapt your work to it?
Observing biological activity, the root systems of plants already in place, and the composition of the horizons provides as much information on the health of your soil as a check-up with a specialist.
This study tends to become essential for farmers keen to work following agronomic rules.
There are various methods, from the most basic to the most comprehensive.
The penetrometer : a "simple" rod that can tell you a lot
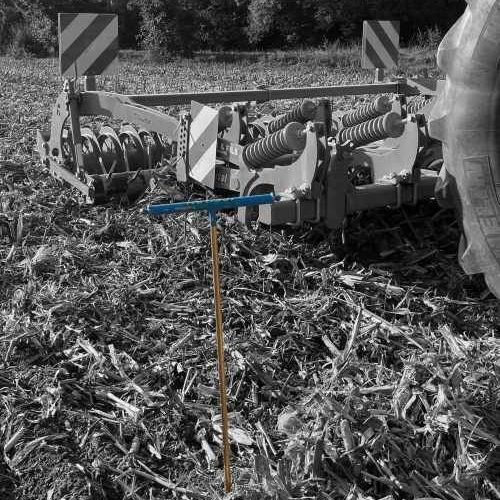
A penetrometer is a tool that measures soil compaction by penetration. Comprising of a graduated hardened steel rod and two handles, it sometimes also features a pressure gauge to measure the pressure exerted to push the penetrometer into the ground. A digital version is also available.
This simple and practical tool is used by agronomists and farmers to quickly determine compaction zones in the soil.
In practice
As with any test, certain conditions must be taken into account. The best time to do this test is between January and April. Before starting on a plot, it must be drained. It is important to note that clay and rocky soils do not lend themselves well to this test.
The penetrometer must be slowly pushed into the soil vertically. The sensation you feel when the rod penetrates the ground makes it possible to detect possible compaction problems and identify them using the graduation. The optional pressure gauge on the penetrometer proves very valuable for precisely determining soil resistance.
At each level identified, it is possible to continue going down, if the rod allows it.
On a plot, it is recommended to carry out several tests in the direction of tillage and diagonally. Ten points provide a realistic view of the situation. For this type of sampling, it is recommended that the same person carry out all the tests. Indeed, sensations can vary depending on the person and everyone creates their own resistance benchmarks.
This method can be supplemented by one of the visual tests below.
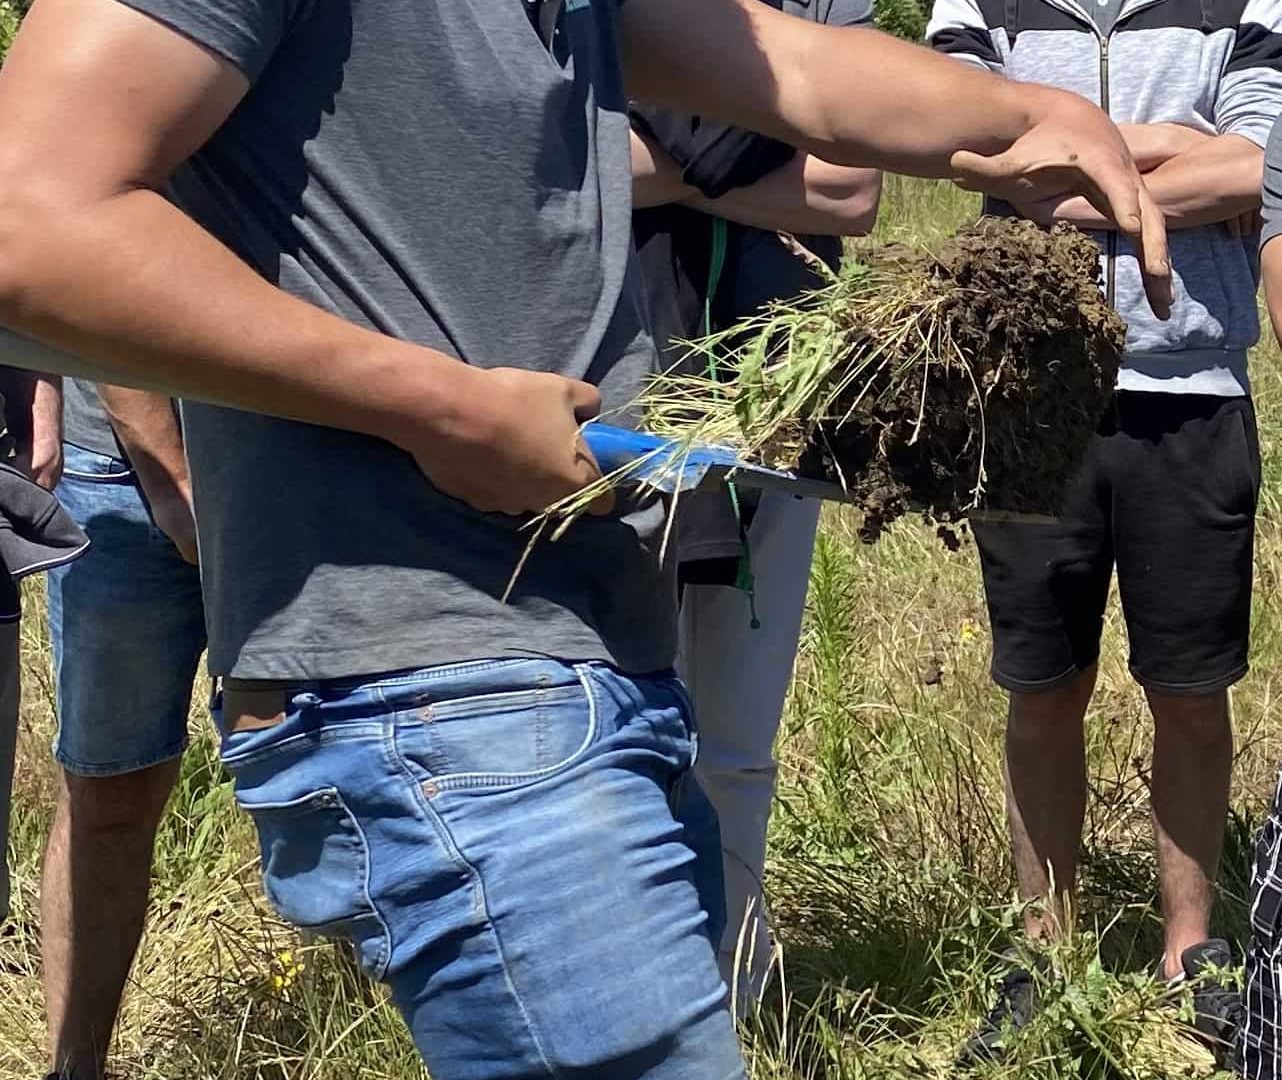
The spade method
A spade is required for this test.
This quick and visual method allows you to examine the appearance of clods, their porosity, and to note the presence of earthworms which have an impact on soil structure. As they cannot thrive in compacted soil, their presence is a positive sign.
Procedure
For this test, the soil must not be too dry. As with the use of the penetrometer, drained soil is ideal. The best time for this test is between crops (autumn or end of winter) or after work, if you want to assess its effects.
A tarpaulin is required to put the 5 or 6 samples taken using the spade on. As with the penetrometer test, samples taken diagonally outside the wheel arches will be more representative.
The clods with a depth of 25 cm to be placed on the tarpaulin can thus be observed with the naked eye. Different horizons can be observed and measured before fragmenting them, retaining any lumps that may come off. A score from 1 to 5 can then be given, 5 being very compact and 1 being very friable.
The biological activity of earthworms can be observed by the number of galleries identified in the clods collected.
The Pépone method, observation at height
This method is named after the farmer who invented it. Also called a ‘mini 3D profile’, it allows you to quickly discover the horizons in a more advanced manner than the spade test.
Carried out using a telescopic forklift, a block of earth is extracted from the ground to observe rooting, soil life, and the general condition of the structure. Less invasive than soil profiling, this approach allows observations to be made while standing.
In the field
The observation period is in line with the two previous tests with the same soil features.
The spacing of the forks must allow the block of earth to be removed without it collapsing (20 to 30 cm). The sample is taken from the plot by inserting the forks into the ground at approximately 45°. The block is then extracted and placed in a horizontal position for observation.
In this way, approximately 70 cm of earth depth is captured. Two samples from a plot can be studied.. It is entirely possible to include a wheel arch into this profile in order to deduce impacts. The shape of the sample already gives some initial information about the soil structure. The clearly visible horizons allow you to see compaction zones. The roots of plants in place (shape, depth), and the biological activity of the soil.
To go further, take clumps from each horizon to observe the porosity and the quantity of aggregates more closely.
Less invasive than soil profiling, this method is used by farmers and technicians.
Soil profiling, for more precision
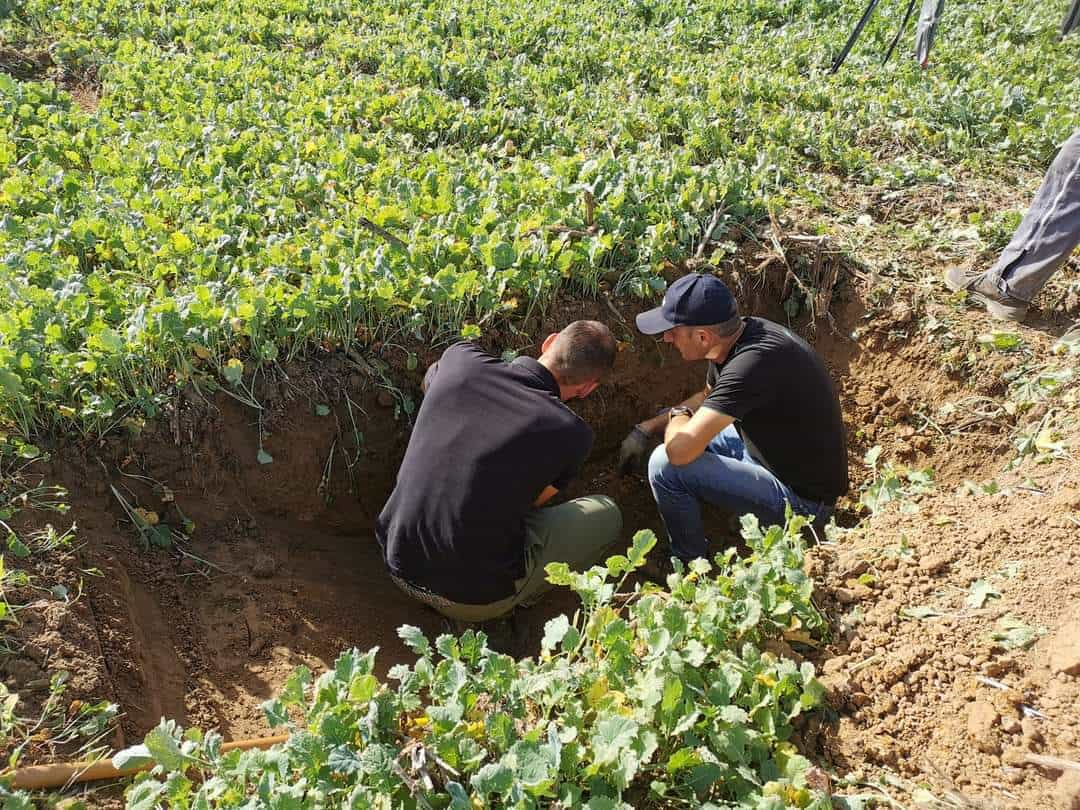
Soil profiling is the most advanced method in terms of physical field study. It involves digging, with a spade or an excavator, a pit 1 to 1.50 m deep, 3 to 4 m wide, and 1.50 to 2.00 m long.
Profiling can be carried out in a representative area or in a problem area (soggy soil, poor quality crop, etc.) in order to detect the causes. Ideally, the area to be observed during the excavation should be protected from any trampling.
In practice
There are two ideal periods for this study: in spring before sowing or at the end of the season. The pit is dug in drained soil perpendicular to mechanical work. The smooth sides, created by the tools during excavation, should be broken up with a knife blade.
Soil compaction is then assessed for each of the strata by inserting the blade. A few clumps should be detached from each horizon to observe the number of aggregates and their shape. It is also possible to observe wet zones, thanks to the colour of the earth, or hydromorphic zones. The work done upstream by the mechanical tools is visible. Soil profiling therefore makes it possible to determine their effect on soil structure.
This method, although invasive for a plot, remains the most precise for observing the soil and implementing a suitable tillage strategy.
Pure science
In addition to the physical observation of the soil, a chemical analysis can be carried out to determine its composition of clay, loam, and sand. This analysis also provides the soil’s pH. The cation exchange capacity as well as elements, such as carbon, nitrogen, phosphorus, and potassium, are analysed.
This analysis helps determine the soil’s reserves and to supplement it, if necessary.

Physico-chemical analysis
Specialised analysis laboratories exist. All you have to do is take soil samples from different locations on the same plot and send them to a laboratory. Various data will then be studied.
Soil texture is the only data that does not change or only slightly changes over time. There are four types:
- sand
- loam
- clay
- balanced
The acidity, organic state or chemical state of a soil can be corrected by adding minerals or organic matter. This is intended to help obtain a better yield, increase crop quality, or change the crop being grown.
This study makes it possible to implement new actions promoting soil health. (correction of compaction, deficiencies, reduction of organic matter, etc.)
If performed once a year, the physico-chemical analysis of soil can have a real impact on crop yield.
Conclusion
Observing your soil, studying the impacts of tillage practices on your plots or allying yourself with the original nature of the latter, is an important issue for good crops. Therefore, this step should not be neglected to obtain the best from nature. The soil is alive. Take care of it.


